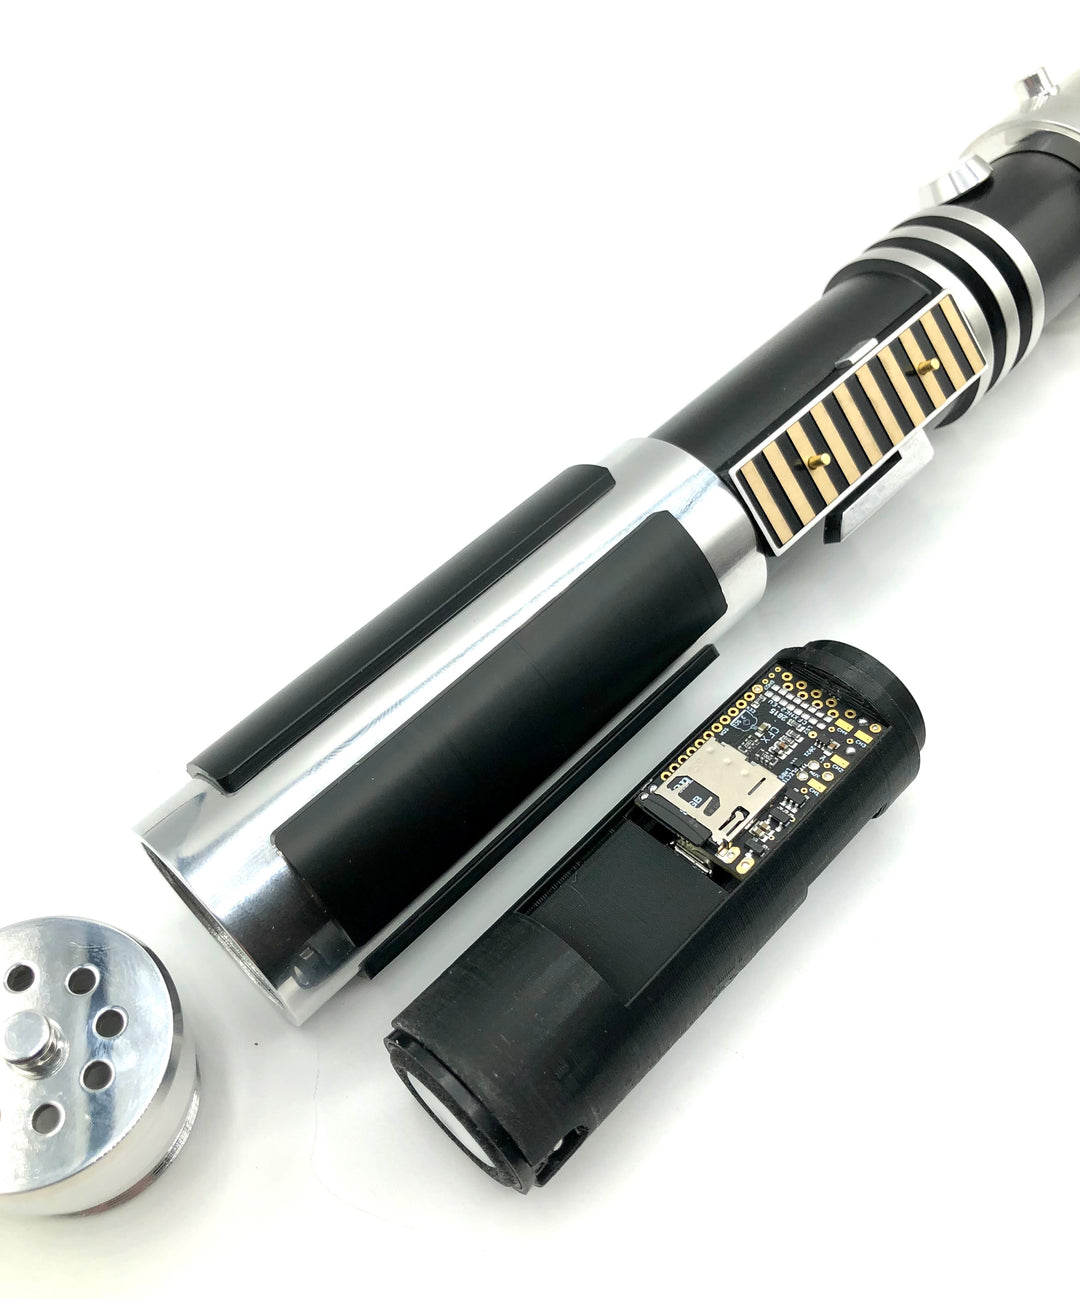
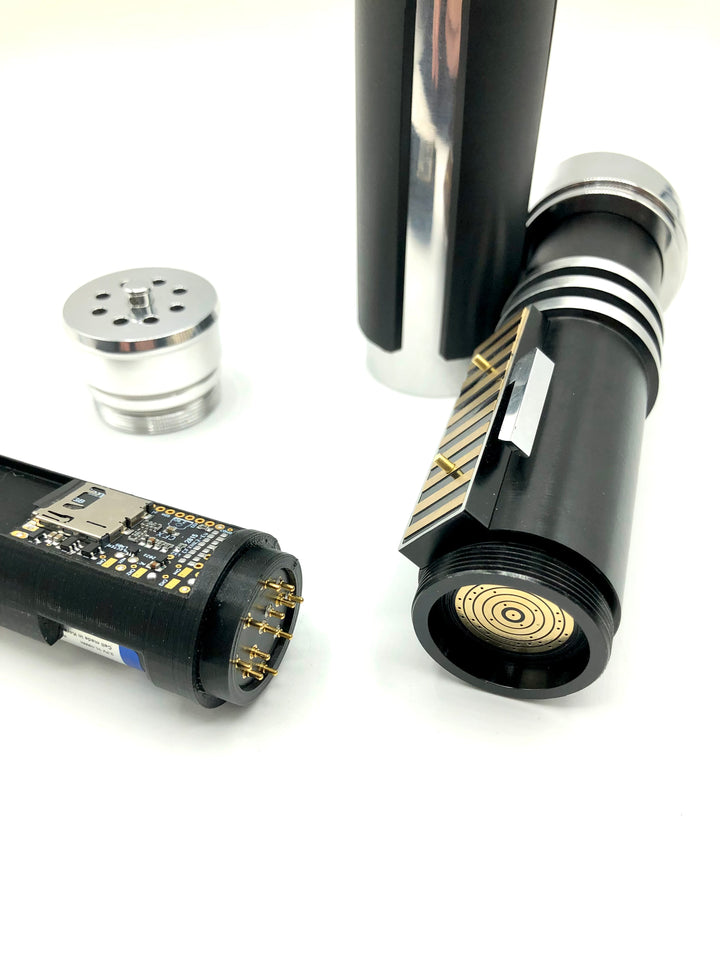
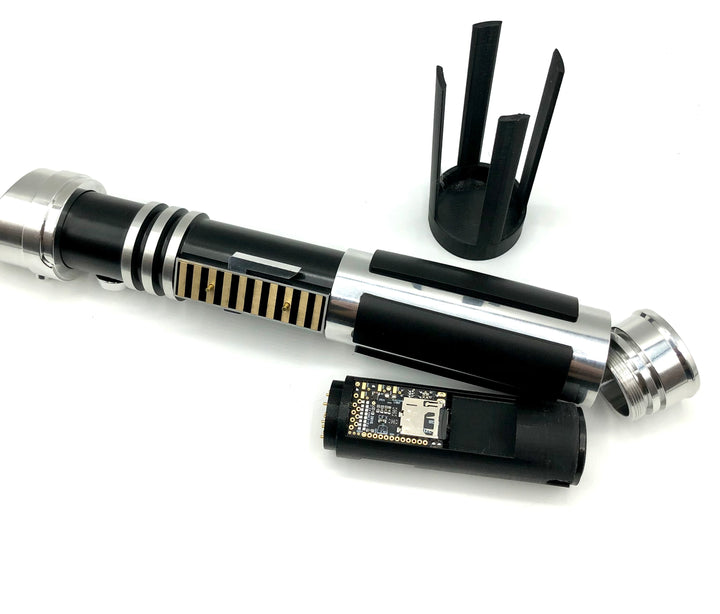
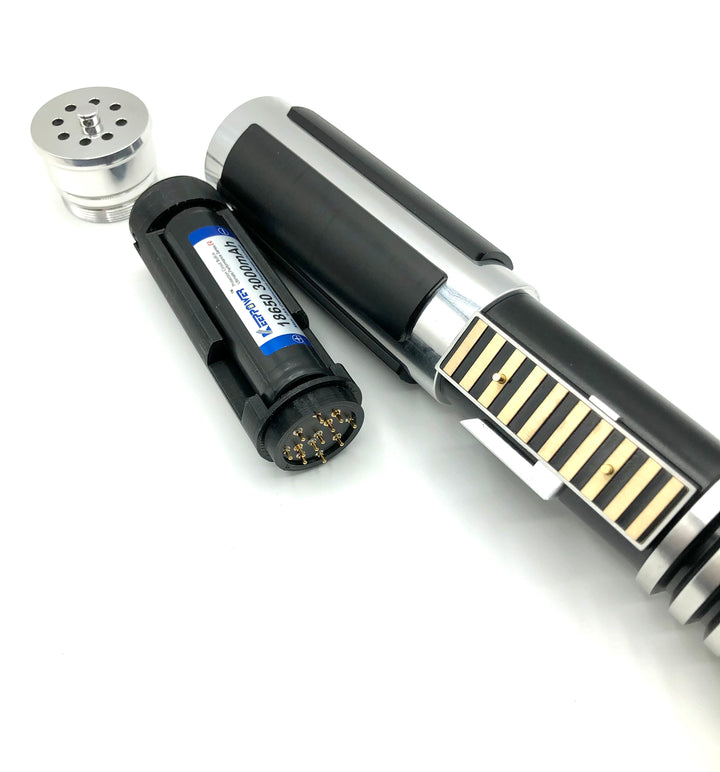
Install chassis for the Saberbay Petro hilt
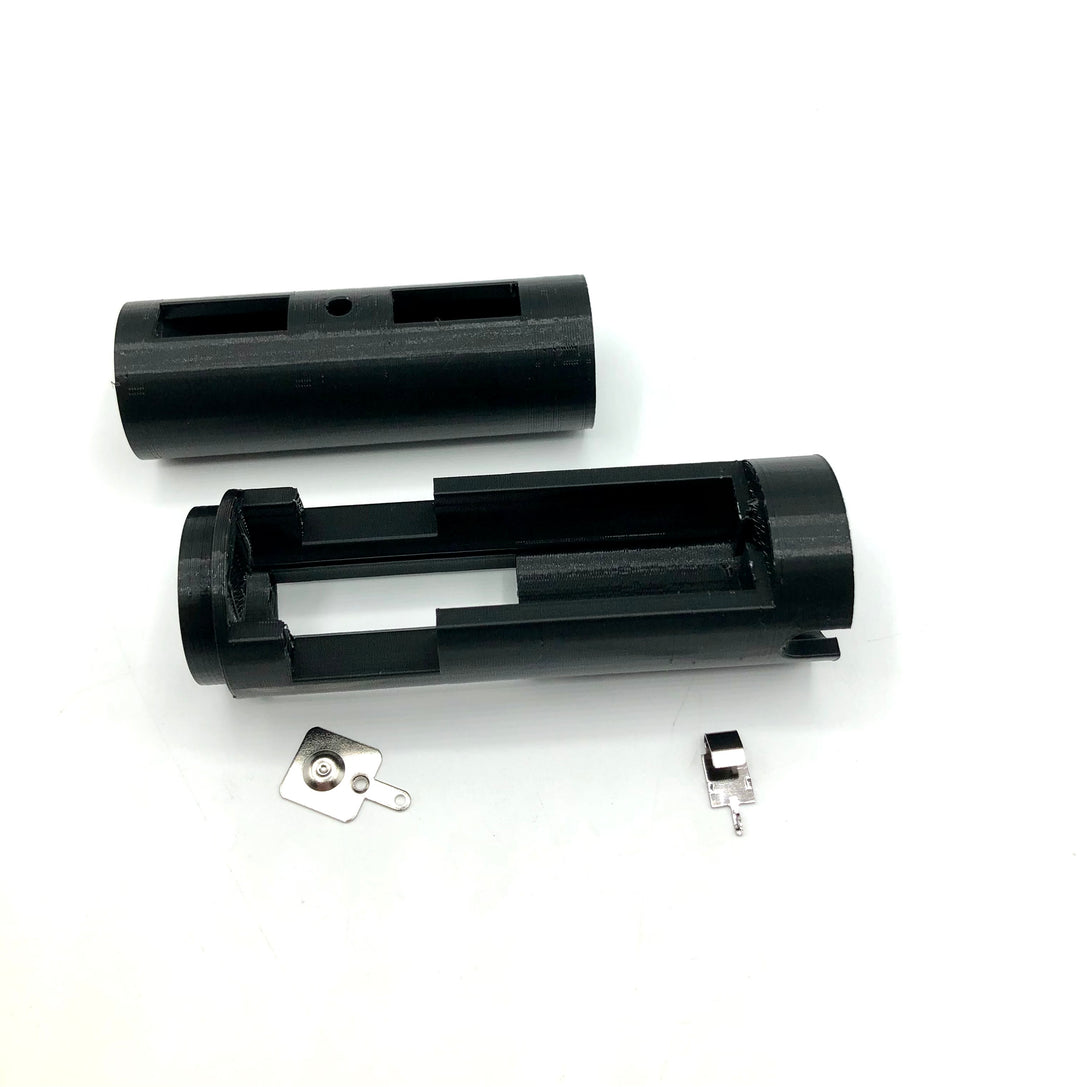
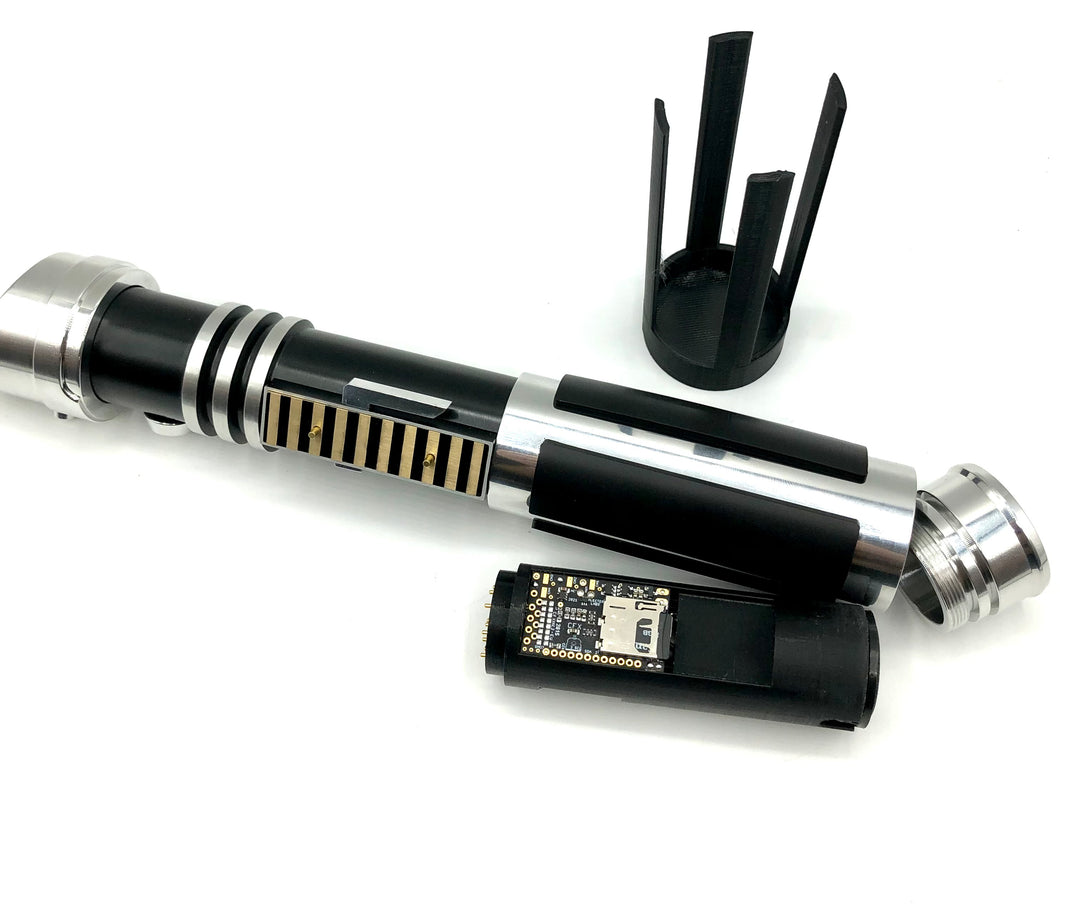
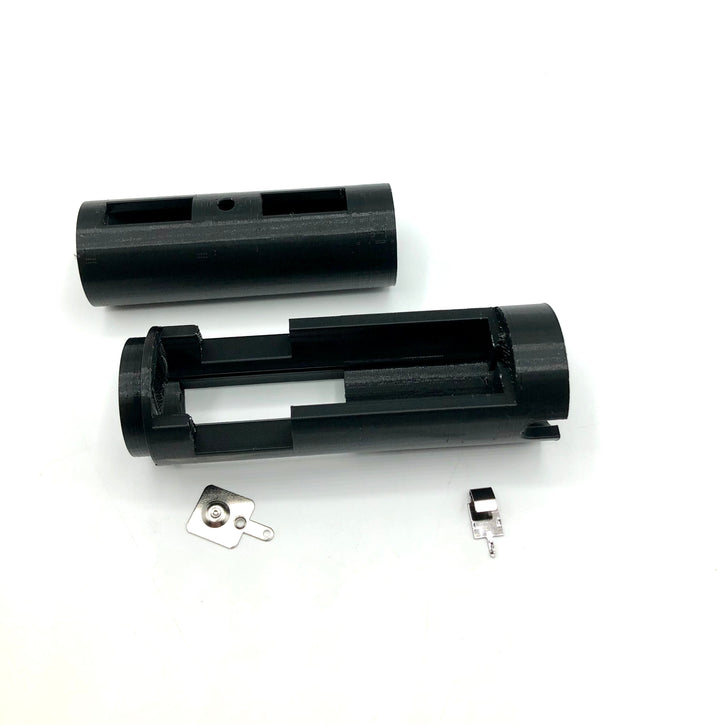
Available as empty chassis printed in two parts.
Empty chassis will include both chassis parts and battery contacts. Top half of chassis is held in place by larger set screw in the control box.
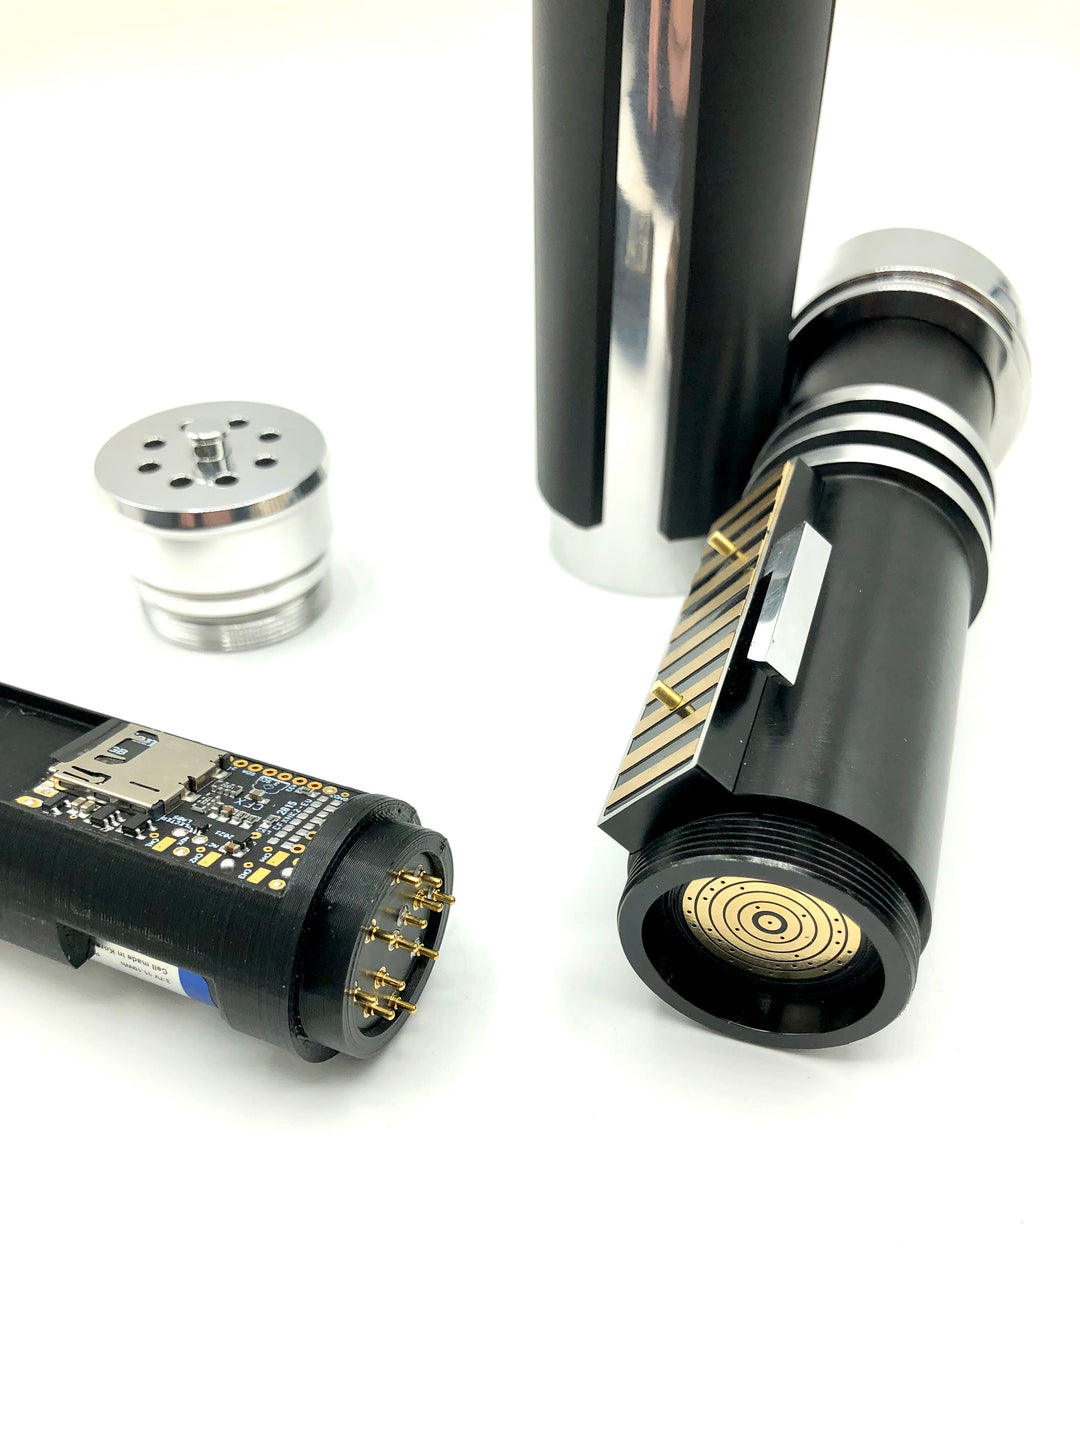
It is recommended to install your V3 connector first, with enough wire leads to extend a few inches out the bottom, then wire the switches in place in the control box and pass the wires through the openings. Wire the chassis PCB last and press fit into the bottom.
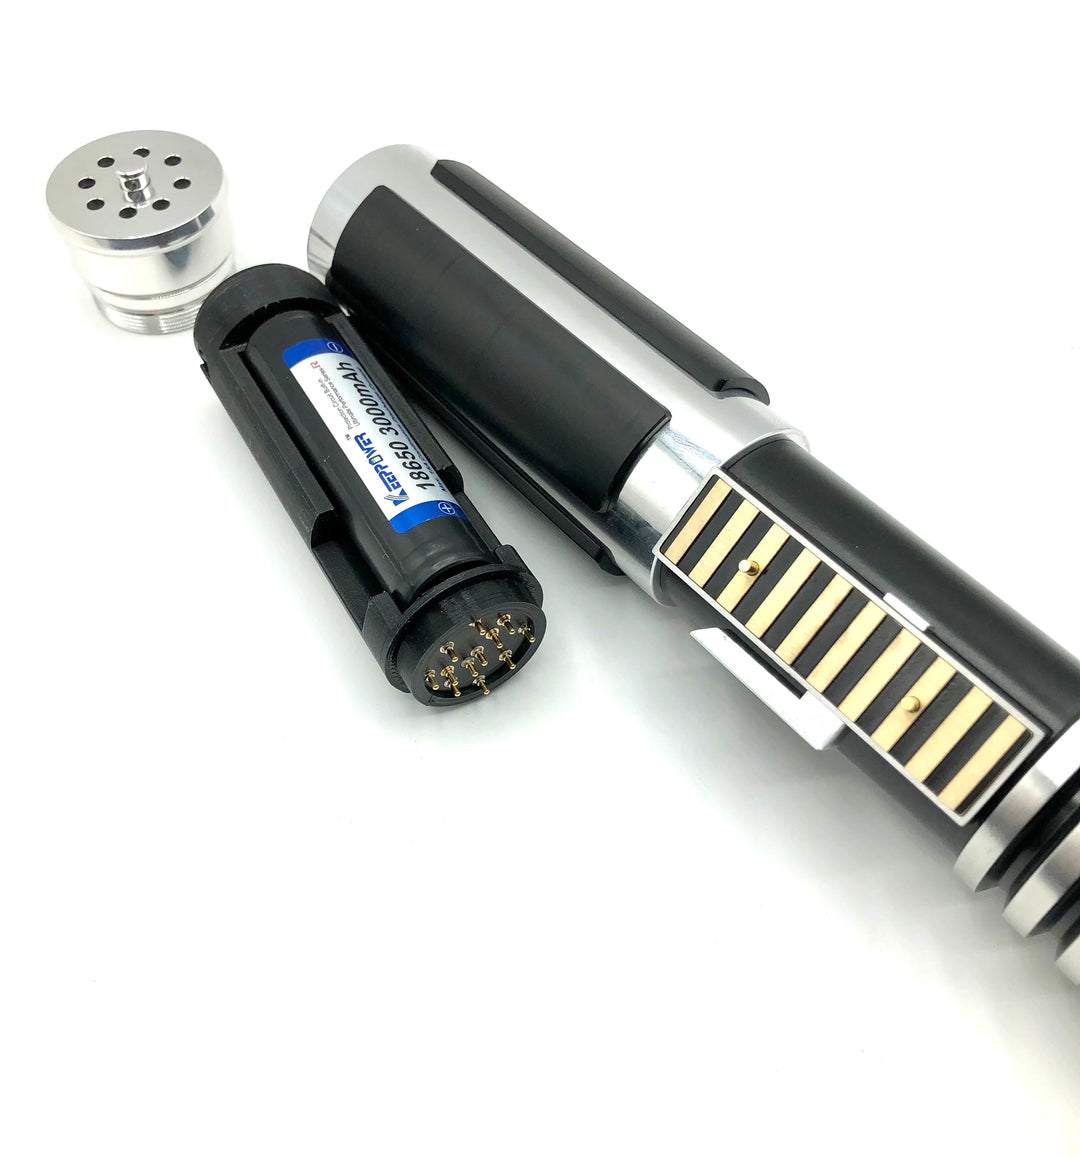
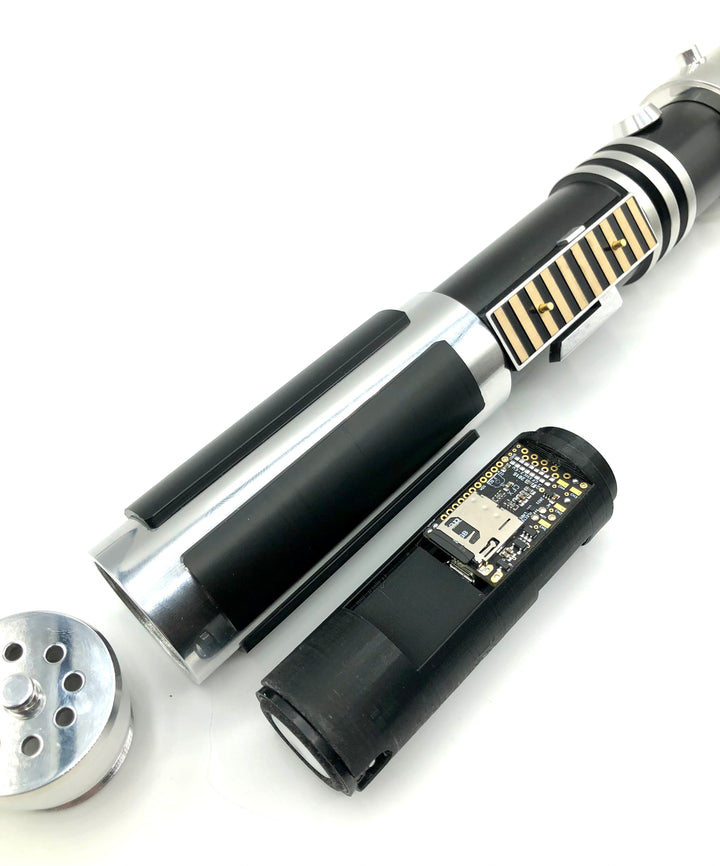
Bottom half of chassis holds the soundboard, battery, other chassis PCB(pins go on this side), and 28mm bass speaker.
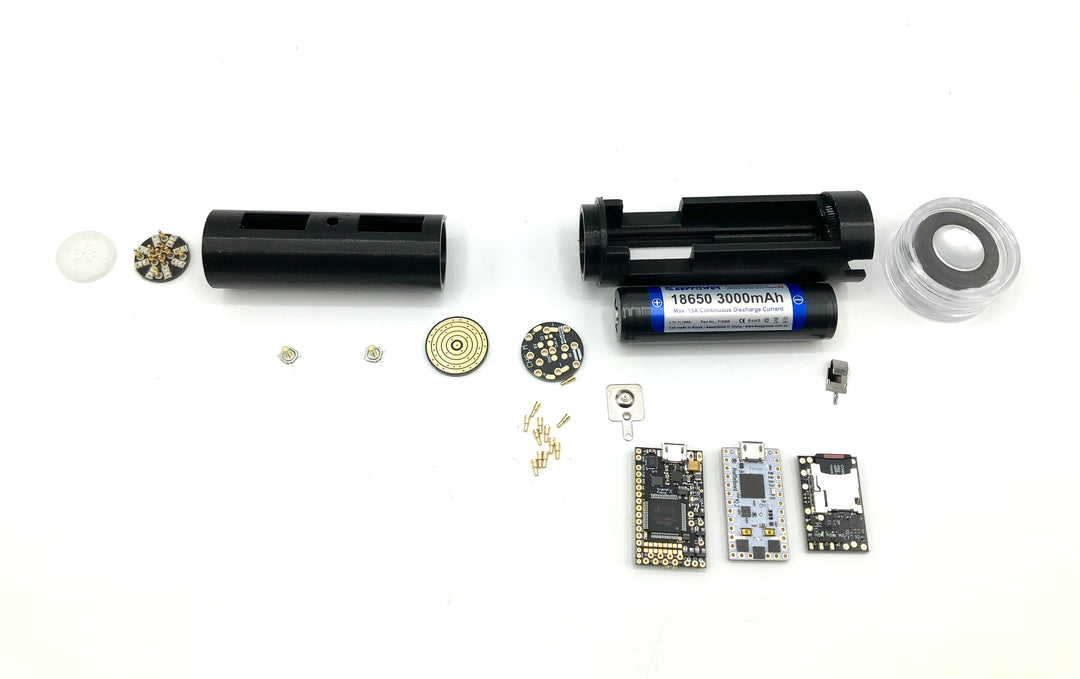
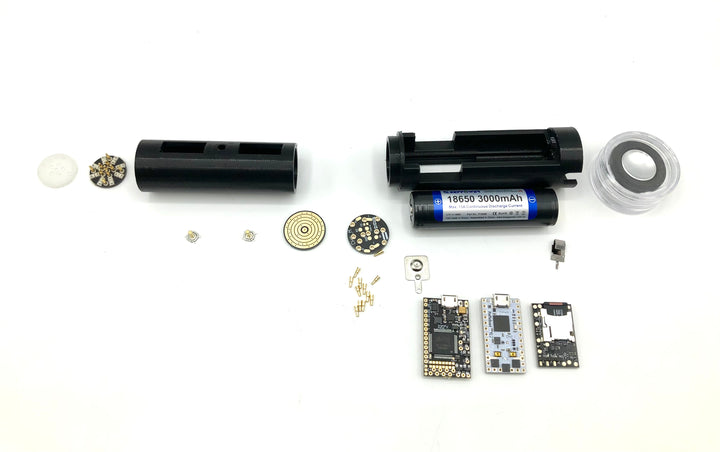
Parts list for chassis install:
-3D printed chassis parts and battery contacts
-SCW 6-trace rotary chassis PCB kit w/ pins
-KeepPower 18650 3000mah 15A battery
-Saberbay X-BASS 28mm 4ohm/3W speaker
-NPXL V3 shortpin hiltside connector


